Rose Hydrosol isn’t just about pampering yourself; it’s a simple yet powerful practice of self-love. With this easy-to-follow guide, you’ll learn how to create your rose hydrosol at home, without feeling intimidated by science. Plus, if you’re not a fan of roses, don’t worry—you can use almost any flower you love. My other favorites, besides roses, include lavender, jasmine, and orange blossom. Let’s dive into the process!
What is Rose Hydrosol?
Rose hydrosol is the refreshing by-product of essential oil production. It’s made from the water used to steam-distill plant materials. Unlike rose essential oil, this process uses the whole plant—petals, stems, and leaves. As the water vapor travels through the plant, it picks up natural oils. Once cooled, the water becomes rose hydrosol, packed with beneficial plant minerals and compounds. These essential nutrients give rose hydrosol its renowned reputation for skincare.
Benefits of Rose Hydrosol for Your Skin
After researching rose hydrosol, I compiled a list of its amazing benefits for your eyes & skin:
- Deep Hydration: It helps your eyes & skin retain moisture.
- Cleansing Properties: Its natural astringent qualities lift dirt and oil.
- Anti-Aging Effects: It reduces the appearance of fine lines.
- Skin Softening: It tones and softens your complexion.
- Eye Support: Relieves tired, dry, bloodshot, and achy eyes, which improves vision.
- Anti-inflammatory & Antibacterial: Ideal for soothing irritated skin, acne, eczema, and psoriasis.
You can even spritz rose hydrosol on your face anytime. It’s gentle enough for the delicate eye area, offering cooling relief.
Watch and Learn: DIY Rose Hydrosol
For a hands-on demonstration, check out my YouTube video where I make rose hydrosol right in my kitchen in Northern California. It fun, simple, and a great way to explore a bit of kitchen chemistry.
Step-by-Step Guide to Making Rose Hydrosol
Step-by-Step Guide to Making Rose Hydrosol
Ready to try it yourself? Let’s get started with these easy steps.
What You Need:
- Fresh rose petals, stems, and leaves from about six fragrant roses (or your preferred flowers).
- A large cooking pot with a snug lid.
- Two small, heat-safe bowls.
- Ice (in Ziploc bags for easy replacement).
- 6 cups of distilled water.
- A small spray bottle for storage.
Instructions:
Step 1: Prep Your Pot
- Place one heat-safe bowl upside down in the pot.
- Scatter your rose petals around the bowl, ensuring they don’t cover the top. Want a stronger fragrance? Use more plant material or mix in herbs of your choice.
Ceramic bowl in large pot with Flowers
Step 2: Add Water and Setup Collection Bowl
- Carefully pour distilled water over the petals until the water level is just below the lip of the overturned bowl.
- Place the second bowl on top of the inverted one—this will collect your rose hydrosol.

Step 3: Create Condensation
- Put the pot lid on upside down. Place ice on the lid. As the steam from the water rises, it hits the cold lid, condenses, and drips into the empty bowl below.

Step 4: Cool and Collect
- Once your pot has simmered for about 30 minutes, turn off the heat. Let it cool while keeping the lid in place to prevent evaporation.
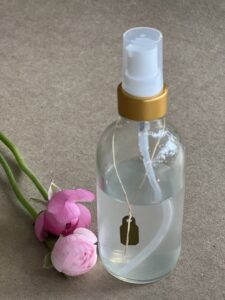
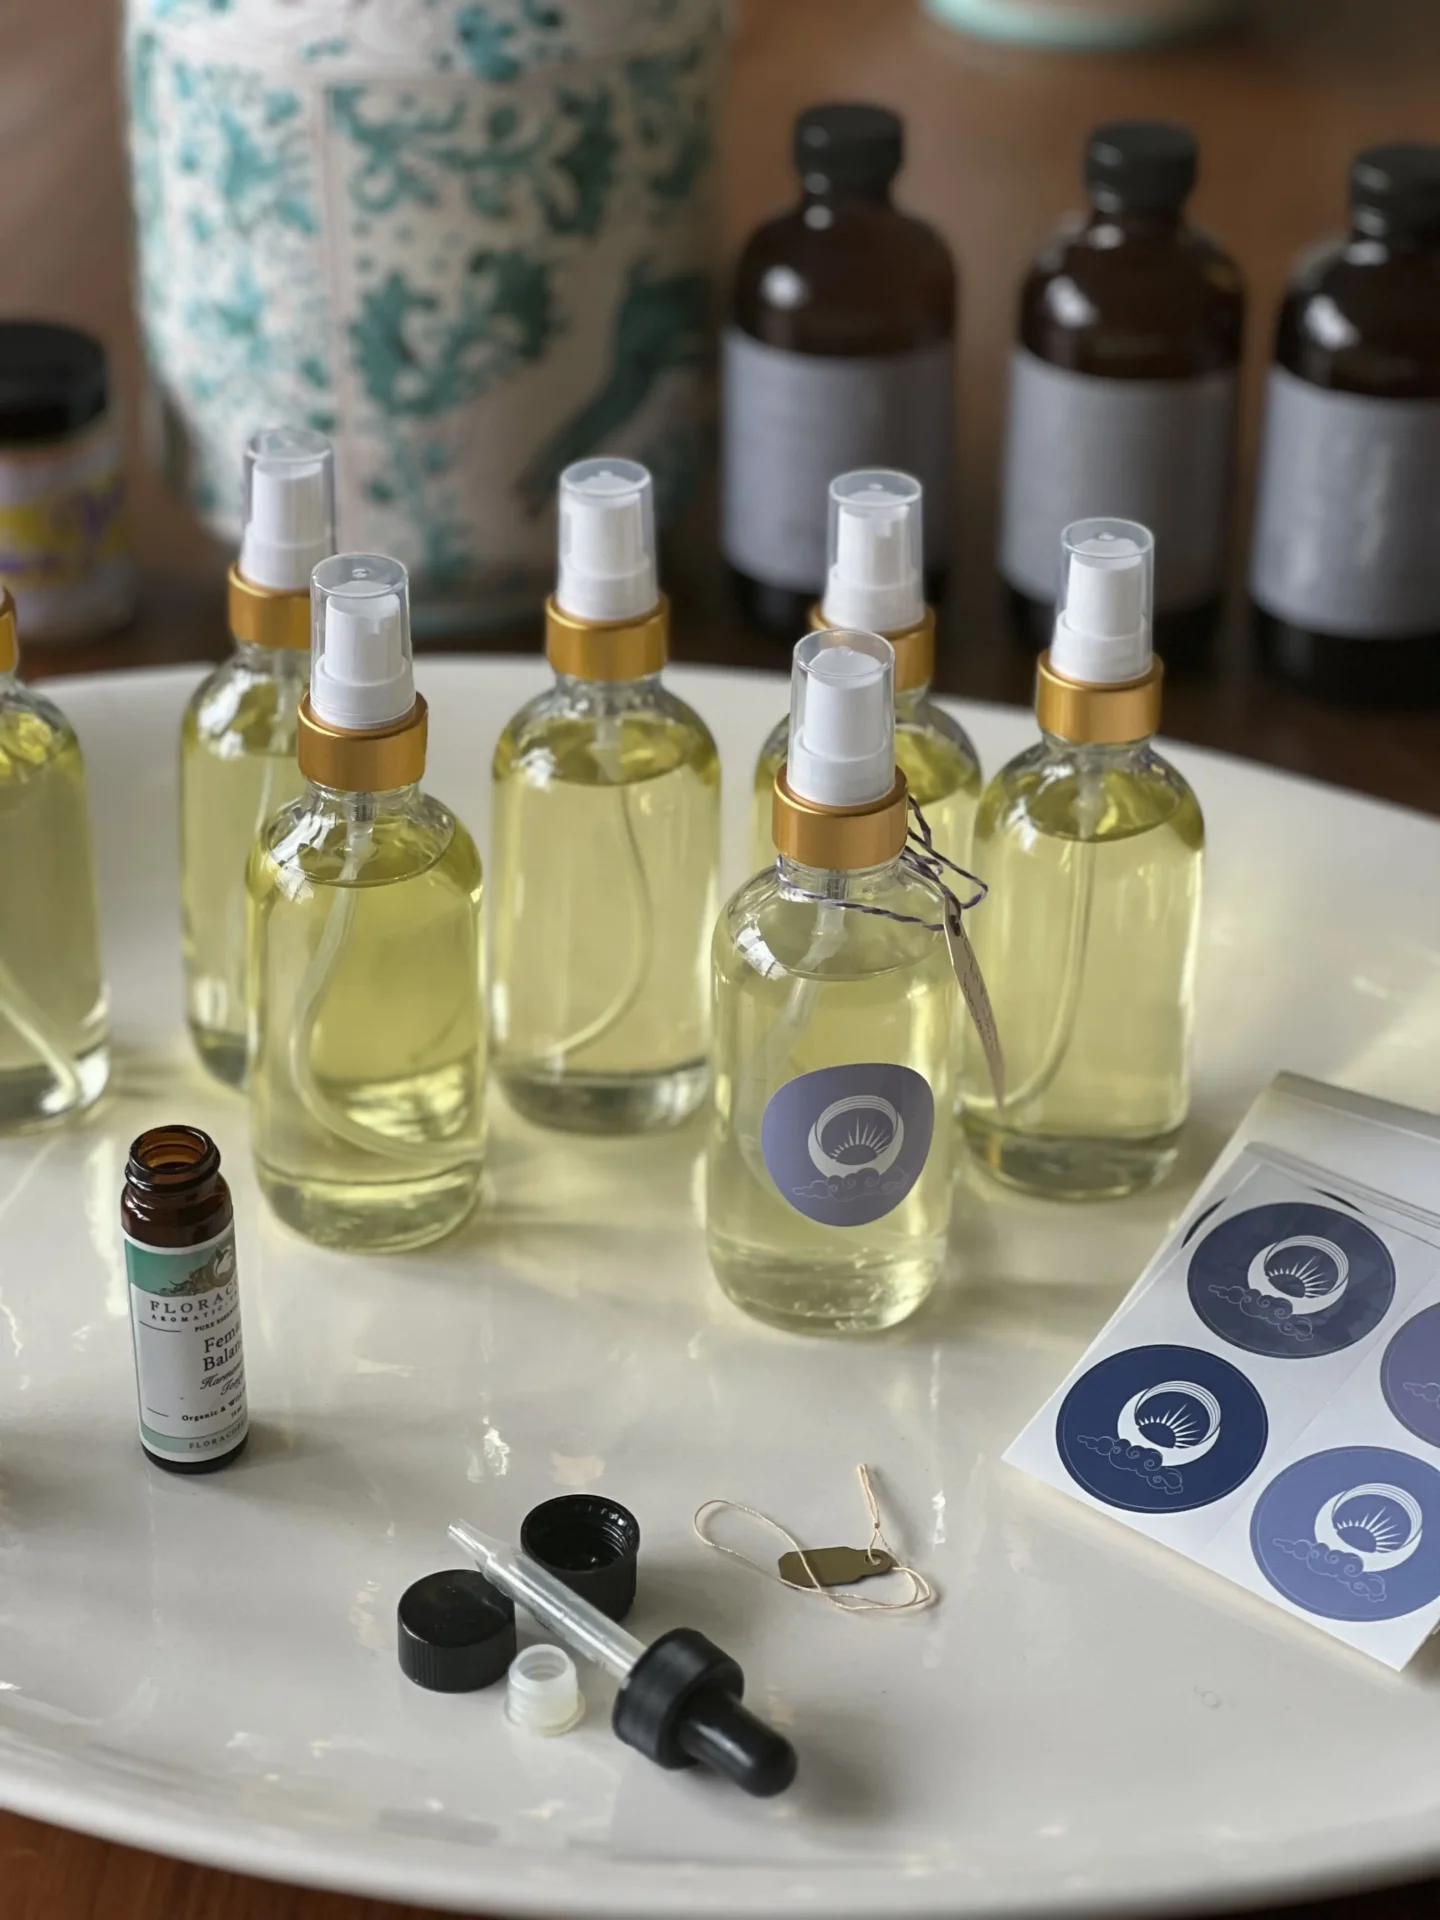
- Carefully remove the bowl containing your fresh rose hydrosol and pour it into a spray bottle or jar. For added aroma, feel free to mix in a few drops of rose essential oil.

Enjoy Your Homemade Rose Hydrosol!
That’s it! You now have your own DIY rose hydrosol, perfect for spritzing anytime you want to hydrate and refresh your skin. The color may vary, but rest assured, the benefits are all there. I’d love to see how yours turned out—feel free to share a picture of your creation with me!
Marisa
If you enjoyed this post and want more, subscribe to my weekly blog updates here and receive a free copy of my Yoga Journal. This journal is perfect for tracking your healthy lifestyle practices and staying on top of your wellness goals.
Interested in an Ayurveda Consultation? I’d love to guide you on your journey to balance and health. Learn more and get started here.
Let’s stay connected! Follow me on Instagram & LinkedIn


